Monday, November 3, 2008

Chocolate cake, ganache, and marshmallow

chocolate marshmallow cakeThis almost worked.

I found the marshmallow frosting and ganache* recipes here.

My version? It wasn't pretty but it tasted good. That's pretty much how most of what I make comes out. Tasty, not pretty. Just eat it! :)

My mistake(s) this time was making the frosting too soon and then (gasp!) refrigerating it. Let that be a lesson to all...do not refrigerate homemade marshmallow frosting until you've already frosted your cake! Silly me.

That said... this was still really good.

I used a boxed cake mix...hey, I considered trying one from scratch but I thought I was being adventurous enough trying the homemade frosting. I've made the confectioners sugar (with and without cream cheese) kind, but never a "cook on the stove" kind. Someday I'm going to brave a butter cream attempt (maybe this one). Not this day though.

I sliced the cake carefully (by hand, no dental floss* trick, though I considered it) into 4 layers. Used this* ganache recipe (fabulous!) on each layer, and the marshmallow frosting on top.

The result? Well, as I said, it's not pretty but it sure was good. The ganache keeps the cake moist and the marshmallow frosting is light (even my soupy version, it thickened up after re-refrigeration) and not too sweet and really brought out the chocolate flavor in the (yep, boxed) chocolate cake. Yummy!

A little picture story... click the images to see the larger versions:
two 9x9 chocolate cakes coolingThis WAS perfect. Light fluffy, just perfect. Then I did this. Do NOT refrigerate your marshmallow frosting until you've frosted your cake with it.

Mmmm...ganacheReady to frost

Recovered enough to frost, required additional beating. But it got oozyThen it got reallllly oozy!

I'd make this again. It was a big hit. I just won't refrigerate the frosting until it's on the cake!
(so it won't get oozy next time)It could've been prettier but that's ok, we liked it

Sunday, March 23, 2008

Apple cake

Apple cake, first try...Or overflowing apple cake. Either. My own fault. Always follow your instinct when cooking. I thought I should have split this batter into two pans but for some reason thought it would be fine, and left it as is. Good thing I went with the "cook it on a cookie sheet" option (and listened to that instinctual nudge)!

I've made this recipe twice so far. First time I had the overflow problem, second time I split what looked like too little batter into two separate pans. Good thing. That too-little-looking batter totally filled both pans. So definitely split this into two pans if it looks like a lot. The pan shouldn't be more than 1/4 full.

I got the recipe from here. You can frost this cake but I chose not to.

First time, instead of dicing, I shredded the apple and followed the rest of the recipe as-is. The second time I shredded half and diced half, to see if it made a difference in the texture, and used 1 & 1/2 cups of sugar instead of two. I wanted to see if cutting down changes anything. For some reason the two cups of sugar to only two cups of flour seemed like an awful lot. Using 1/2 cup less of sugar didn't seem to make any difference so I'll make this using 1 1/2 cups of sugar from now on.


The recipe:

4 cups peeled and diced apples (1st try, I shredded 8 small apples, which was about 3-3 1/2 cups or so; 2nd try, half diced and half shredded was about 4-4 1/2 cups)
2 cups sugar (second time, I used 1 1/2 cups sugar, and will from now on)
1/2 cup salad oil
1 cup chopped nuts (pecans or walnuts)
2 eggs, beaten
2 teaspoons vanilla
2 cups flour (all purpose, not self rising)
2 teaspoons baking soda
2 teaspoons cinnamon
1 teaspoon salt

Heat your oven to 350ºF degrees. In a large bowl, mix apples and sugar thoroughly.

(The original recipe adds the rest of the ingredients to the apple mixture but I kept the apples and sugar in one bowl and the rest in another and mixed them together after prepping each.)

Add the oil, nuts, eggs and vanilla. Mix the dry ingredients together and add to the apple mixture.
Apple cake - second try
Bake in a greased 13x9 inch pan for 1 hour. (I used one 13x9 pan the first time and had the overflow problem, second time I used a 13x9 pan and a 9x9 pan, worked perfectly) Slightly underdone is better (according to the recipe, see link above) than overdone. I'd agree with that because you have to factor in carryover*.

Start checking this at the half hour mark if you split the batter. My second (split) batch took 35 minutes to cook.


Apple cake
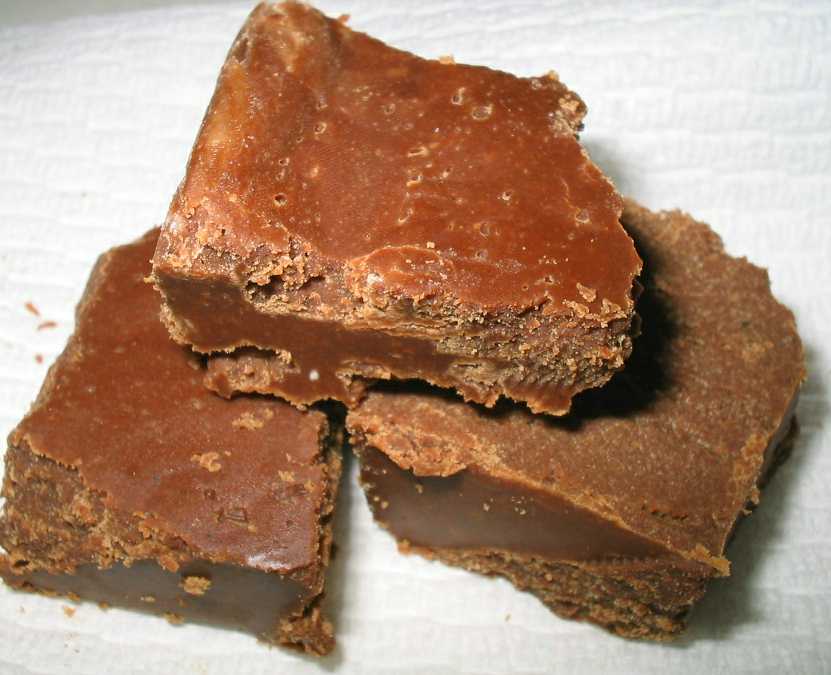
This will turn a very toasty shade of brown. That's ok, it's from all the sugar and the cinnamon.

Taste-wise...this was very moist, and tasty. And surprisingly, not overly sweet at all. Dicing the apples does make a difference in the texture. The apple pieces get all soft and pleasingly gooey. I think dicing half and shredding half is a good mix.

I wanted something different from the cobbler-type dessert I usually make when I have a surplus of apples and this worked great. Quick and easy and just the something different I was looking for.

This froze and defrosted well too. I cut up the cake from the second pan into single servings (zippy bagged them) and froze them to take to work. It was just as good as the day I baked it.
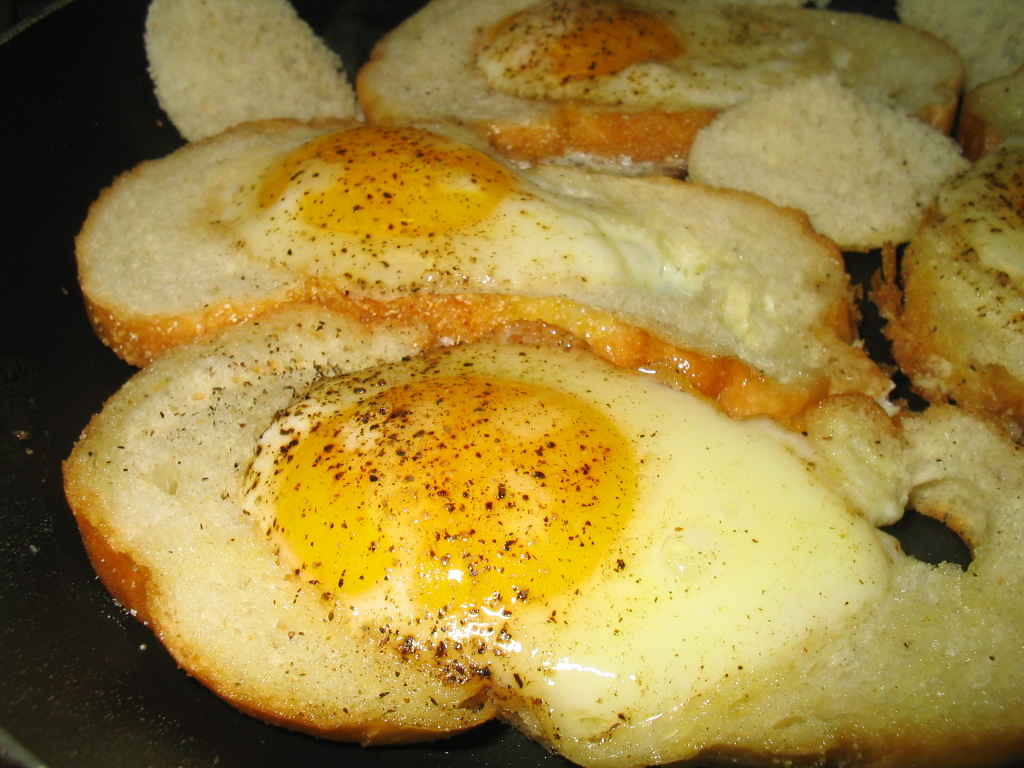
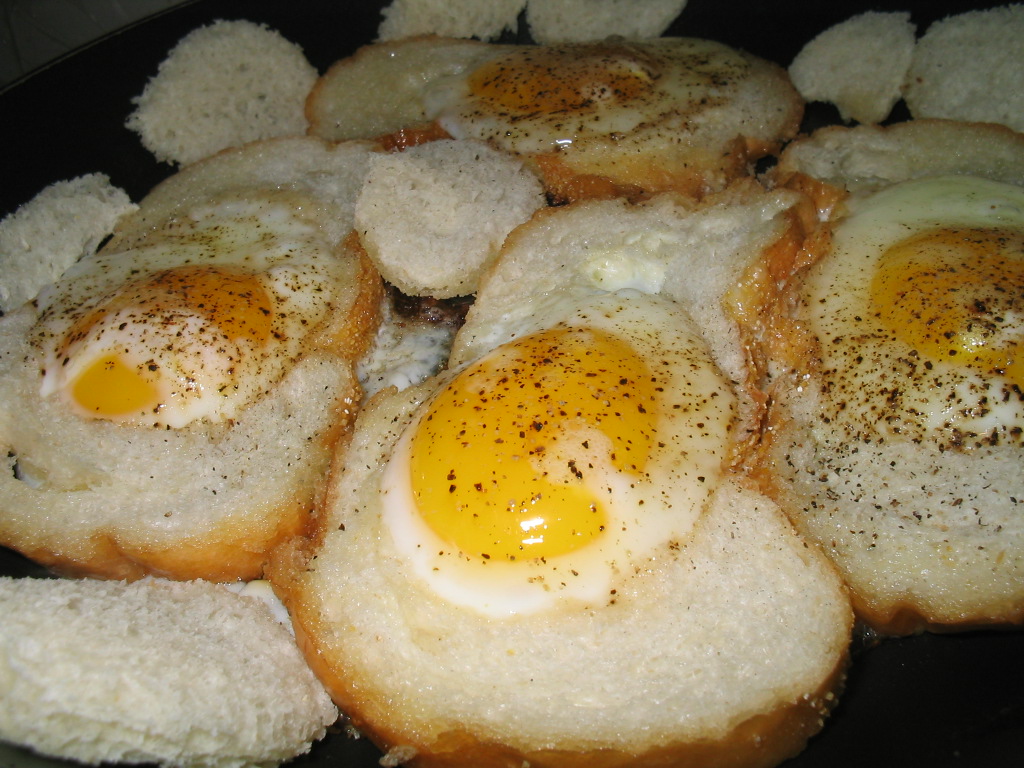
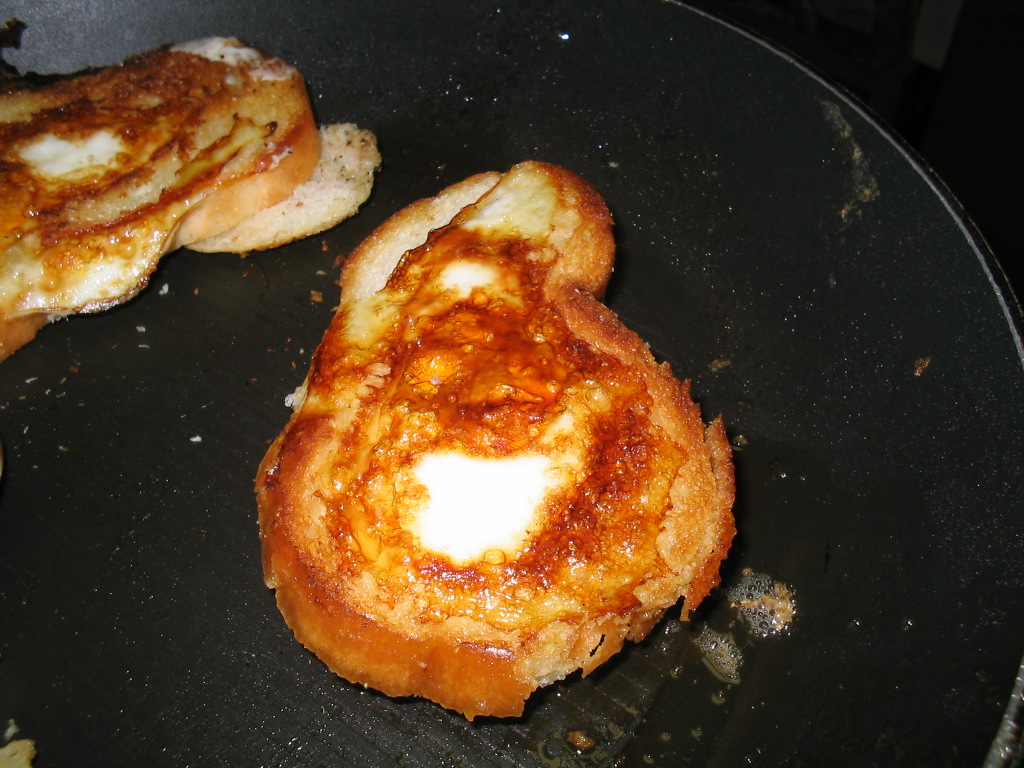
Saturday, October 6, 2007

Stuffed Mushrooms

Something I threw together while making something else. I didn't have a recipe, just went with what seemed right. I was pretty happy (considering I had no recipe) that it came out good! :)

I used large white mushrooms (I had 8 at the time) with the stems removed, and reserved. Lightly salted the insides. Baked the caps empty-side-up, for about 20-25 minutes in a toaster oven on 325F, until they lost some of their moisture, but still held their shape.

For the filling, I finely chopped the following and put it in a small bowl:

1/2 celery rib
1/4 onion
1 plum tomato
8 stems with the (picked side) ends cut off

To this I added one shredded baby carrot, 2-3 tablespoons of flavored breadcrumbs, one tablespoon (store bought) shredded Parmesan cheese, and about a tablespoon of melted butter. Mixed it well, and filled each mushroom cap evenly, and overfilled them with what was left.

I baked this in a toaster oven at 350F for about 30 minutes.

The result? Oh, they were delicious! And I will definitely be making these again. I didn't realize how easy this kind of treat could be. And because the filling would change depending on what ingredients I have handy, it would end up a little different every time. That would add some variety to my usual veggies. Maybe next time I can skip the butter and use a spray on salad dressing instead, or some butter flavored (non-stick) spray.

Sunday, August 5, 2007

Sweet Cheat Popcorn

sweet cheat popcorn I've been trying to make a kettle-corn style popcorn and an easy caramel type popcorn for ages. By "easy" I mean-- one pot, no separate caramel making, no additional baking, with butter and salt being optional. Easy, you know?

Every time I just tried adding a little (1/4 cup or less) brown sugar to the heating kernels (stove top popcorn prep), I'd end up with hard granules attached to the corn. Not quite what I was looking for. Not to mention a little hard on my teeth.

I think I finally did it though. It was a total fluke. While the kernels were heating up (again, stove top prep, kernels cooking in a little oil) I added some brown sugar, like usual. Only this time, instead of just stirring and hoping for the best, I also added a little water.

This made all the difference! The water dissolved the sugar (have to stir this mixture until the kernels start popping, then continue cooking with the cover on, keeping the pot moving), and the whole works boiled and became a syrupy consistency by the time the kernels started to pop. The syrupy mixture cooked onto the newly popped kernels and finally I had easy stove top sweet popcorn! Yum!
sweet cheat popcorn
Of course, this probably isn't a secret, and many of you out there, likely already knew this. Silly me though for never thinking of it 'till recently. (I worried that adding water to popcorn makes mush; it probably does if the kernels have popped, but not while they're still kernels.)

So, this adds to the many ways you can make popcorn. To this sweet mixture I've drizzled butter on top and added salt. Very tasty! But probably best as an occasional treat.

The best thing is, made this way, it's tasty as-is, which is exactly what I wanted. A little sweet, without the added butter or extra steps trying to make caramel or having to bake it. Still have to be extra careful of the unpopped kernels. Now they'll likely stick to the popped ones. Eat carefully!

Tuesday, June 19, 2007

Cinnamon Gnocchi

I saw this recipe on Everyday Italian, only, the recipe that was in the episode doesn't quite match the recipe on the website. Strange.

In the episode, she used a half of a cup of sugar, and a tablespoon or so of cinnamon, which is different than the website version.

I made my own version so I guess it doesn't matter. I was kind of bummed that I couldn't get the sugar to dissolve in the butter. At least it looked that way but in the end, the sugar dissolved and this came out pretty good.

I've never had gnocchi before so this was a completely different dessert for me and definitely not the way I intended to have it initially. Nice change. (I intended to add the gnocchi to tomato sauce)

This is how I made this:

1 & 1/2 cups gnocchi, boiled in salted water until tender (per package instructions), and drained

Set this aside.

In the same saucepan that I cooked the gnocchi in (empty now but still hot) I added:

1/2 stick butter
1 cinnamon stick

Melt the butter, and then add:

1/2 cup sugar
1 Tablespoon ground cinnamon

Cook this mixture until the sugar melts, or, 3-5 minutes on low to medium heat, stirring often.

Remove the cinnamon stick. Add the drained gnocchi.

In both the website and TV episode version of this recipe, that was it. Done. In my version, I cooked the gnocchi in the sauce another two minutes.

That's it. Plate it and enjoy.
Definitely have to serve this warm!


I felt better having used much less butter, but wondered if more butter made the sauce thicker. Possibly. But I'd rather have a slightly looser sauce and know I used a lot less butter.


Another good thing about this recipe is the wonderful way it makes your kitchen smell. Dessert and aromatherapy all in one. Nice!

Monday, March 26, 2007

Birds in a Nest

birds in a nestI was half watching a 30 Minute Meals episode and discovered this fun twist on eggs and toast.

My version for two requires 4 eggs, 4 pieces of bread (any sliced bread, I used Italian, and cooked up the cut-outs too), 1-3 TBS. butter, and salt and pepper to taste.

Preheat a frying pan on medium heat. (If you're using a small pan, you can cook these in smaller batches) Use a small cup or circular cutter to cut a circle in the center of each piece of bread. Lower the heat to medium. Melt 1 or two TBS. of butter in the hot frying pan. Arrange your bread in the pan. (I placed the bread in the pan, allowed it to soak up a little butter, then turned it over)

Carefully break an egg into the center of each piece of bread. Pepper to taste. Add a dash of salt if you wish. Cook to desired doneness.

You're basically frying your toast instead of baking it. If you like your eggs soft side up you will be done within 3-4 minutes. If you like them over-easy, just flip and wait a minute.


I like mine well done.


This was kind of fun (new twist, cute name) so it worked nicely. Might try spicing it up a bit next time or sprinkling on some cheese (parmesan or cheddar) right at the end.

Saturday, February 10, 2007

A.B.'s Peanut Butter Fudge (easy!)

peanut butter fudgeI saw this recipe on Good Eats. Yummmmy!

Sure looked easy. Alton Brown uses a microwave, but I don't have one (really!) so I did this on the stove top. The episode recipe is here. I think mine is the same except that I don't have a scale so I checked for conversions and came up with what I thought was close enough. Someday I hope to try his chocolate fudge. Looked really good in the episode.

This peanut butter fudge recipe is easy!

Before you start, prepare a square (8"x8" or 9"x9") pan by lining it with non-stick foil, waxed paper, or parchment paper. Set aside.

You'll need:

1 cup (2 sticks) butter
1 cup creamy (smooth) peanut butter

Melt this in a saucepan on low heat (or in your microwave), stirring often.

In a (metal or heat safe) bowl, add 1 lb (or about 3 and 3/4 cups) sifted confectioners (powdered) sugar.

Add 1 Tsp. vanilla to the bowl.

peanut butter fudgeWhen the peanut butter and butter is thoroughly melted, add the mixture to the bowl and stir to combine. Mix well! Pour the mixture into the prepared pan and cover with a piece of waxed paper. Refrigerate for a couple of hours (or overnight) and when cool, cut into squares and enjoy!

These were melt in your mouth delicious! Good for the occasional treat.


I also tried a chocolate version of this recipe. I wasn't brave enough to try it without some peanut butter added in case it added something to the texture.
chocolate peanut butter fudge
1/2 cup (1 stick) butter
1/2 cup peanut butter (smooth)
1 and 1/4 cups chocolate chips
2 cups confectioners (powdered) sugar
1 Tsp. vanilla
Prepared the same way as above.

For a little variety, the peanut butter chocolate fudge would work out pretty good. A different mouth feel than the version I usually make (when making easy chocolate "fudge"). Fun to experiment sometimes.